在unity中使用navigation系统实现简易寻路路径的绘制
1.场景搭建
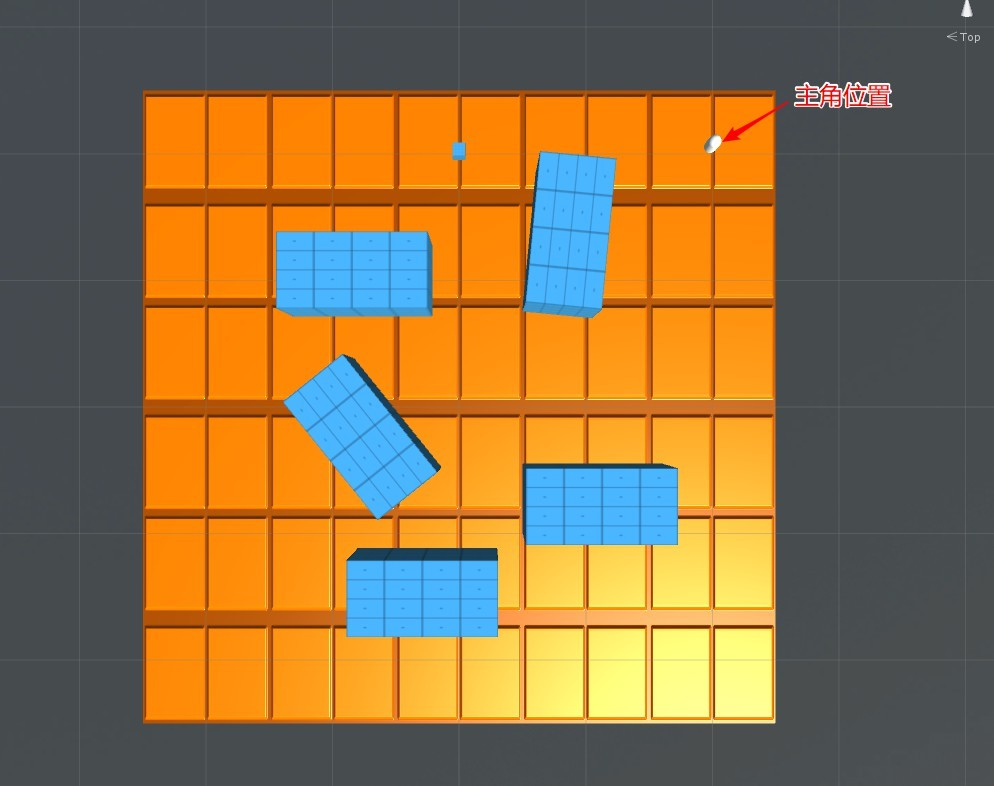
演示场景如下:

2.移动主角位置
-
给主角添加导航代理组件
-
烘焙场景导航网格
-
添加寻路脚本
using System.Collections;
using System.Collections.Generic;
using UnityEngine;
using UnityEngine.AI;

public class Findpath : MonoBehaviour {

    private NavMeshAgent _navPlayer;
    private Vector3 nextDes = Vector3.zero;
	// Use this for initialization
	void Start () {
        _navPlayer = transform.GetComponent<NavMeshAgent>();
	}

	// Update is called once per frame
	void Update () {
		if(Input.GetMouseButtonDown(0)) {
            Ray ray = Camera.main.ScreenPointToRay(Input.mousePosition);
            RaycastHit hit;
            if(Physics.Raycast(ray,out hit,Mathf.Infinity)) {

                _navPlayer.SetDestination(hit.point);

            }
        }
	}
}
至此已经实现了主角移动至点击位置的功能
3.绘制路径
-
使用NavMeshAgent.CalculatePath()函数得到寻路路径点
NavMeshAgent.CalculatePath()函数:
public bool CalculatePath(Vector3 targetPosition, AI.NavMeshPath path);
参数targetPosition为目标点 ,path为返回需要的路径
详细解释可参考官方API -
创建空物体添加LineRenderer组件
在层次面板中创建一个空物体然后添加LineRenderer组件
-
将得到的路径数组赋给LineRenderer实现路径绘制
修改上面的脚本为:
using System.Collections;
using System.Collections.Generic;
using UnityEngine;
using UnityEngine.AI;

public class Findpath : MonoBehaviour {

    private NavMeshAgent _navPlayer;
    private NavMeshPath _navPath;
    public LineRenderer lineGameObject;
	// Use this for initialization
	void Start () {
        _navPlayer = transform.GetComponent<NavMeshAgent>();
        _navPath = new NavMeshPath();
	}

	// Update is called once per frame
	void Update () {
		if(Input.GetMouseButtonDown(0)) {
            Ray ray = Camera.main.ScreenPointToRay(Input.mousePosition);
            RaycastHit hit;
            if(Physics.Raycast(ray,out hit,Mathf.Infinity)) {

                _navPlayer.SetDestination(hit.point);
                _navPlayer.CalculatePath(hit.point, _navPath);
                if (_navPath.corners.Length < 2)
                    return;
                else {
                    lineGameObject.numPositions = _navPath.corners.Length;
                    lineGameObject.SetPositions(_navPath.corners);
                }
            }
        }
    }
}
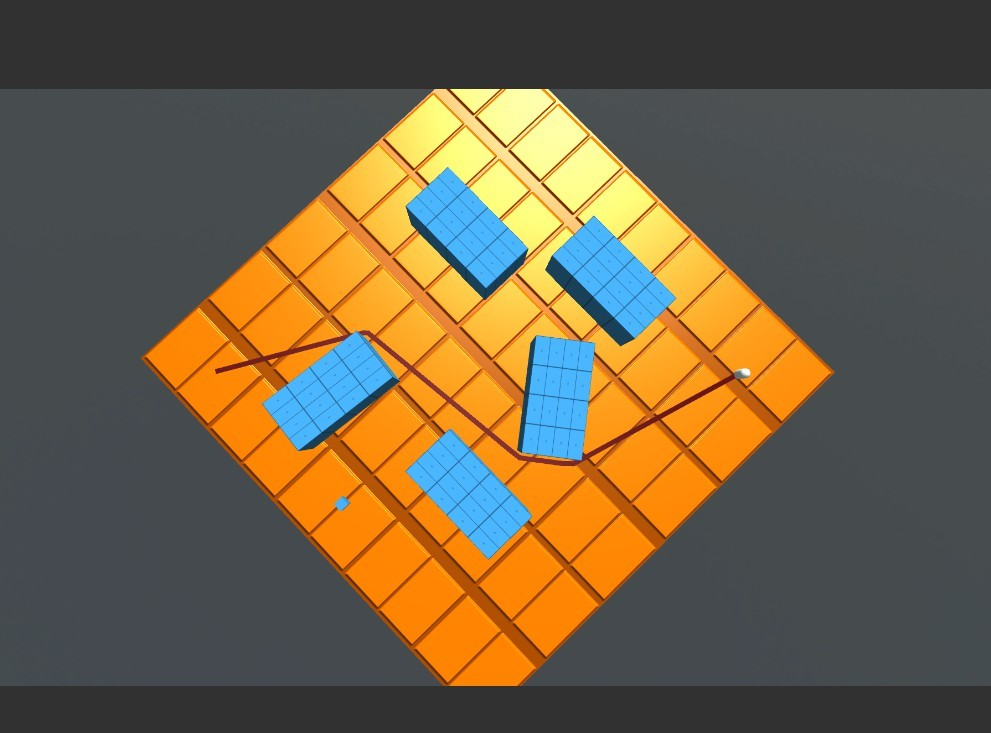
4.实现效果展示
